20 December 2010

peachy painting


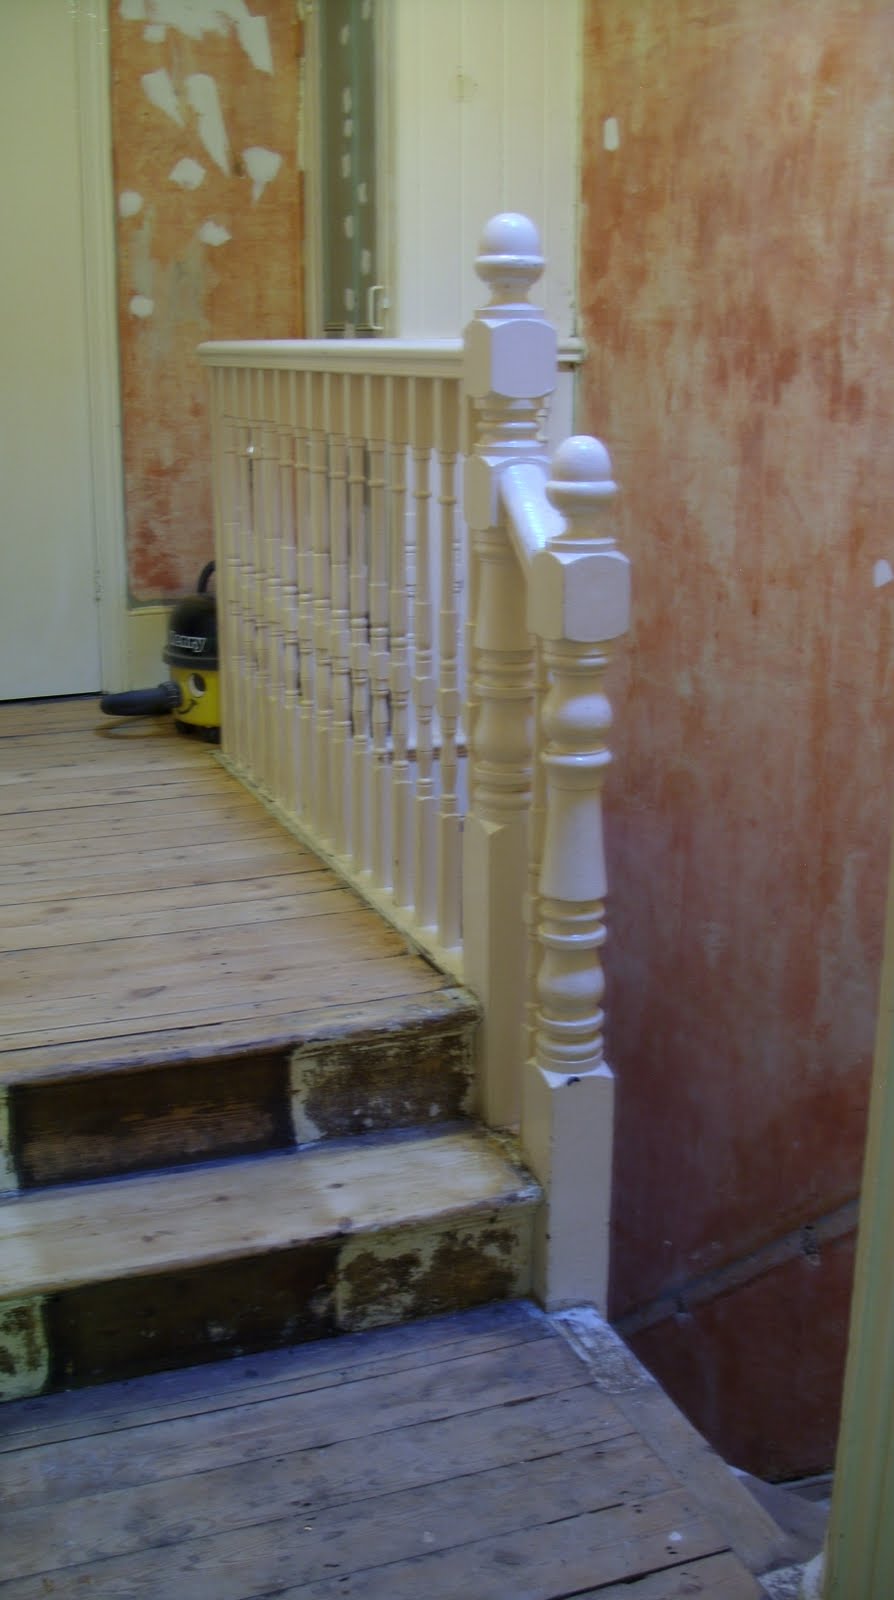
With the walls freshly lined and lovely it was finally time to paint! After a horrendous 3 visits to B&Q we finally managed to get the paint we were after! Although it's called Warm Terracotta its actually more of a peach colour....but it really works! So nearly finished!! :)

smart lining


Post-stripping, the walls were actually in pretty good shape! But we still needed Brad to line them to make them super smooth and ready for painting!! And now they are.... :)We also had the skylight shaft ripped out and rebuilt with plasterboard so that it actually fits the new window and lets all the light in!

Stripping magic!


The time has finally come where we can get someone in to tackle our horrendous lime green textured hallway!! Make way for Brad! Hadn't realised quite how important the hallway was...until we tried to choose our paint that was! Thank goodness he managed to get it all off and still keep the walls in tact!!

12 September 2010

herbie


A little package arrived the other day from my big sis down under - a lovely pot of herbs (cooking ones honest!) for the kitchen! yummy! Have used them lots already - thank you katie! :)

damson in distress


So after much deliberation and many suggestions we finally decided on a colour for the kitchen - dusted damson, to go with the grey tiles and also bring out some of the colour in the brick wall! The kitchen looks so much better now the green has gone - and finally painted our blackboard which looks so cool - we love it!

kitchen swatches


Now that the kitchen is fully functioning we really needed to paint over the acrid green walls - but what colour to choose?! A few sample swatches should help us decide, or not!

whitewash


With the bedroom floor painted and the lining paper successfully (ish!) hung on the walls and ceiling we're ready to paint! We bought lovely linen white paint by Cath Kidson which was on special offer at B&Q- Unfortunately we didn't buy enough as the lining paper absorbed so much of it on the first coat! So another trip to the B&Q special offer bin found Fired Earth light umber paint which was also really nice for the walls with the white ceiling, with a little help from decorator Dave we got it done in no time!

7 July 2010

time for a break...


time for thailand! House put on hold for a couple of weeks of much needed sun, sea and snorkelling! :)

ditching the sign


So now we're in we can finally get rid of the sold sign! Whoop - it's official!

the big move!


We finally moved in - with the help of dave and several trips in the hire luton!! How do we have so much stuff? And more to the point where is it all going to go?! Well, in the spare room for the moment!

17 May 2010

kitchen mania!


So the kitchen is finally finished!! whoop whoop!! thanks to ikea, dressed up with posh tap and door handles, fired earth tiles and beautifully sanded wooden floors! oh and jarek and silent mario for actually putting it in!

farrow and ball


How sad is it that my best bit of the weekend was a trip to farrow and ball to buy the floor paint for the bedroom?!?! We decided on white - well not actually white but 1 of 20 shades they do! Looks pretty smart though - so now the floor's done only the woodwork, polyfiller, sanding, lining paper and painting to go -easy!!

11 May 2010

back boiler buldoze


The chimney breast in the living room has a hollow section to the right hand side which was built to house the old back boiler - now with a lovely new combi this panel is no longer needed so time to take it down and reclaim half of the alcove! Thanks to James and his dad it came down in no time....well not too much time but a fair amount of effort - they used 5" long nails!!

ikeatastic


With the floors nicely varnished and the kitchen all arrived and checked off from ikea we're ready to start putting in the kitchen! Well I say 'we' I really mean our amazing polish joiner Jarek and his silent friend Mario. Should be finished in a week.....except that when it comes to unpacking the boxes from Ikea we begin to realise some of the panels are the wrong colour - lots of different shades of white! uh-oh!! After 4 trips to ikea within the space of 3 days and one too many 45p hotdog dinners we've managed to get all the rights bits - now to get it all in! Eek! Oh and Sunday night spent doing polyfilla, hanging lining paper and painting the wall behind the cooker hood! And of course the units aren't really blue....

sandy floors


So the first Bank holiday weekend of the year would obviously be a great time to really crack on with the house so we might actually move in sometime in the near future! Oh except that it's one of James's best friends' stag weekend in Madrid - leaving me the pretty mammoth task of sanding and varnishing the kitchen floors before the kitchen gets installed next week! doh! With some kindly help from 'my mate dave' we got it done in a day - although was pretty backbreaking! However, as some of the floorboards had been replaced in the last few years we uncovered an odd mix of pine and original oak which didn't look great. So I mixed up a pretty special wood stain to dye them all the same colour, along with a coat of very old and yellowing clear varnish the colour is actually pretty spot on! Not too shabby!

25 April 2010

extremely tack-full


The floorboards in the kitchen are getting ready to be sanded and varnished before the kitchen goes in - the small task of removing the tacks needs to be completed first and there are literally hundreds of them! They don't come up easily either so a long slog ahead of us and a pretty tight timeline before the guys come in to do the plumbing and kitchen! Only half way there.....

grey matter


Once all of the plaster was off the wall we then had the little matter of lots of bits of grey plaster and dust clinging desperately to the bricks! Out came the wire brush but after lots of brushing it still wasn't coming clean! Then our local DIY store recommended an amazing wire brush drill bit so the drill does all the hard work! So much easier - once it was all off we gave the bricks a good wash - ready to be sealed!

plaster masters


Before we can install the kitchen, we need to remove the plaster from the wall opposite the window - the exposed brick look should soften the gloss white kitchen! Easier said than done.....with our new plaster bolster and pretty impressive hammer we set to work taking off the layers of plaster - the original victorian grey plaster complete with horse hair and still very hardy!